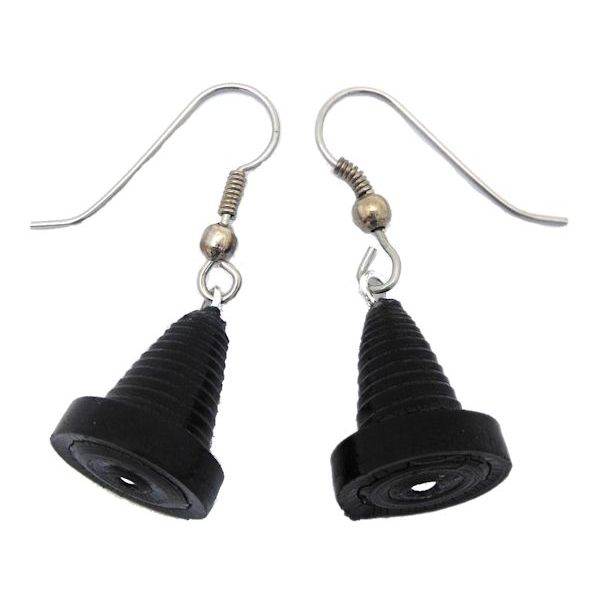
Witch Hat Paper Bead Earrings
 Designed By Julie A. Bolduc
These little earrings are fast and easy to make. They are made with 2 strips of black card stock but can also be made with white card stock that has been colored with a black permanent marker.
- Materials Needed
- Black Card Stock, 1 sheet will make 16 little hat beads
- 1 pair of silver color fishhook ear wires per pair of earrings
- 2 1" long silver color head pins per pair of earrings
- Strong White Glue
- Glaze of choice. I use 2 coats PC-Petrifier and 2 coats of Janice Mae's Vibrance
- Size 1/16" or size number 1 paper bead roller
- Supplies needed for your favorite glazing method.
- Pair of round nose pliers
- Pair of wire cutters
Finished Size: Hat Beads are 5/8" x 1/2" Overall Length: 1-1/2"
Skill Level: Beginner to Intermediate
Instructions
Step 1: Cut your card stock into 16 strips that are 11" long, 5/8" on one end and 1/8" at the other end. These will be cone beads. Then starting on the opposite side of your card stock, so you are working with a straight factory edge, cut 16 strips that are 1/8" wide by 11" long.
Step 2: With your 1/16" paper bead roller, roll a wide strip into a cone shape and glue only the end into place. Do not remove from winding pin. Add the 1/8" wide strip to where the wide strip ended, glue only the end into place and enough to glue the 1/8" wide to the bottom of the cone but do not glue the whole strip. Continue rolling until you reach the end of the 1/8" strip. Glue only the end into place. Remove the bead from the winding tip and adjust as needed to shape into a witch hat shape.
Step 3: Repeat Step 2 until you have all of your little witch hat beads rolled. Now get them ready for glazing!
Step 4: Glaze your beads using your favorite method. I dip mine. You can watch my Glazing Paper Beads Video at YouTube to see how I glaze paper beads.
Step 5: When your beads are dry, you are ready to assemble your earrings! Put one bead on a head pin and make tiny simple loop on the top of the hat. Attach it to the ear wire! Repeat for the rest of the witch hat beads! Now you can sell or give them away! Make sure to keep a pair for yourself!
Design written on September 14, 2014. Copyright ©2014 By Julie A. Bolduc f204000

