
Ultimate Bead Drying Rack
Download PDF File For Printing Assembly Instructions

Designed By Julie A. Bolduc
This drying rack is made from 3D printed parts, white PVC pipe and stainless steel pins. It is meant to work with dipping paper beads strung on 50lb test monofiliment fishing line. It is very easy to assemble and will hold as many as 54 strands of beads based on 6 strands per pin. I was inspired to design this drying rack by Lisa at the Beyond Bracelets YouTube channel. Some Simple Assembly Required! These instructions are for how to assemble the kit you can order from Etsy. When you get your bead drying rack parts, they will be shipped to you in a box. If you order anything else along with the drying rack, those items will also be placed in the box as long as they fit.
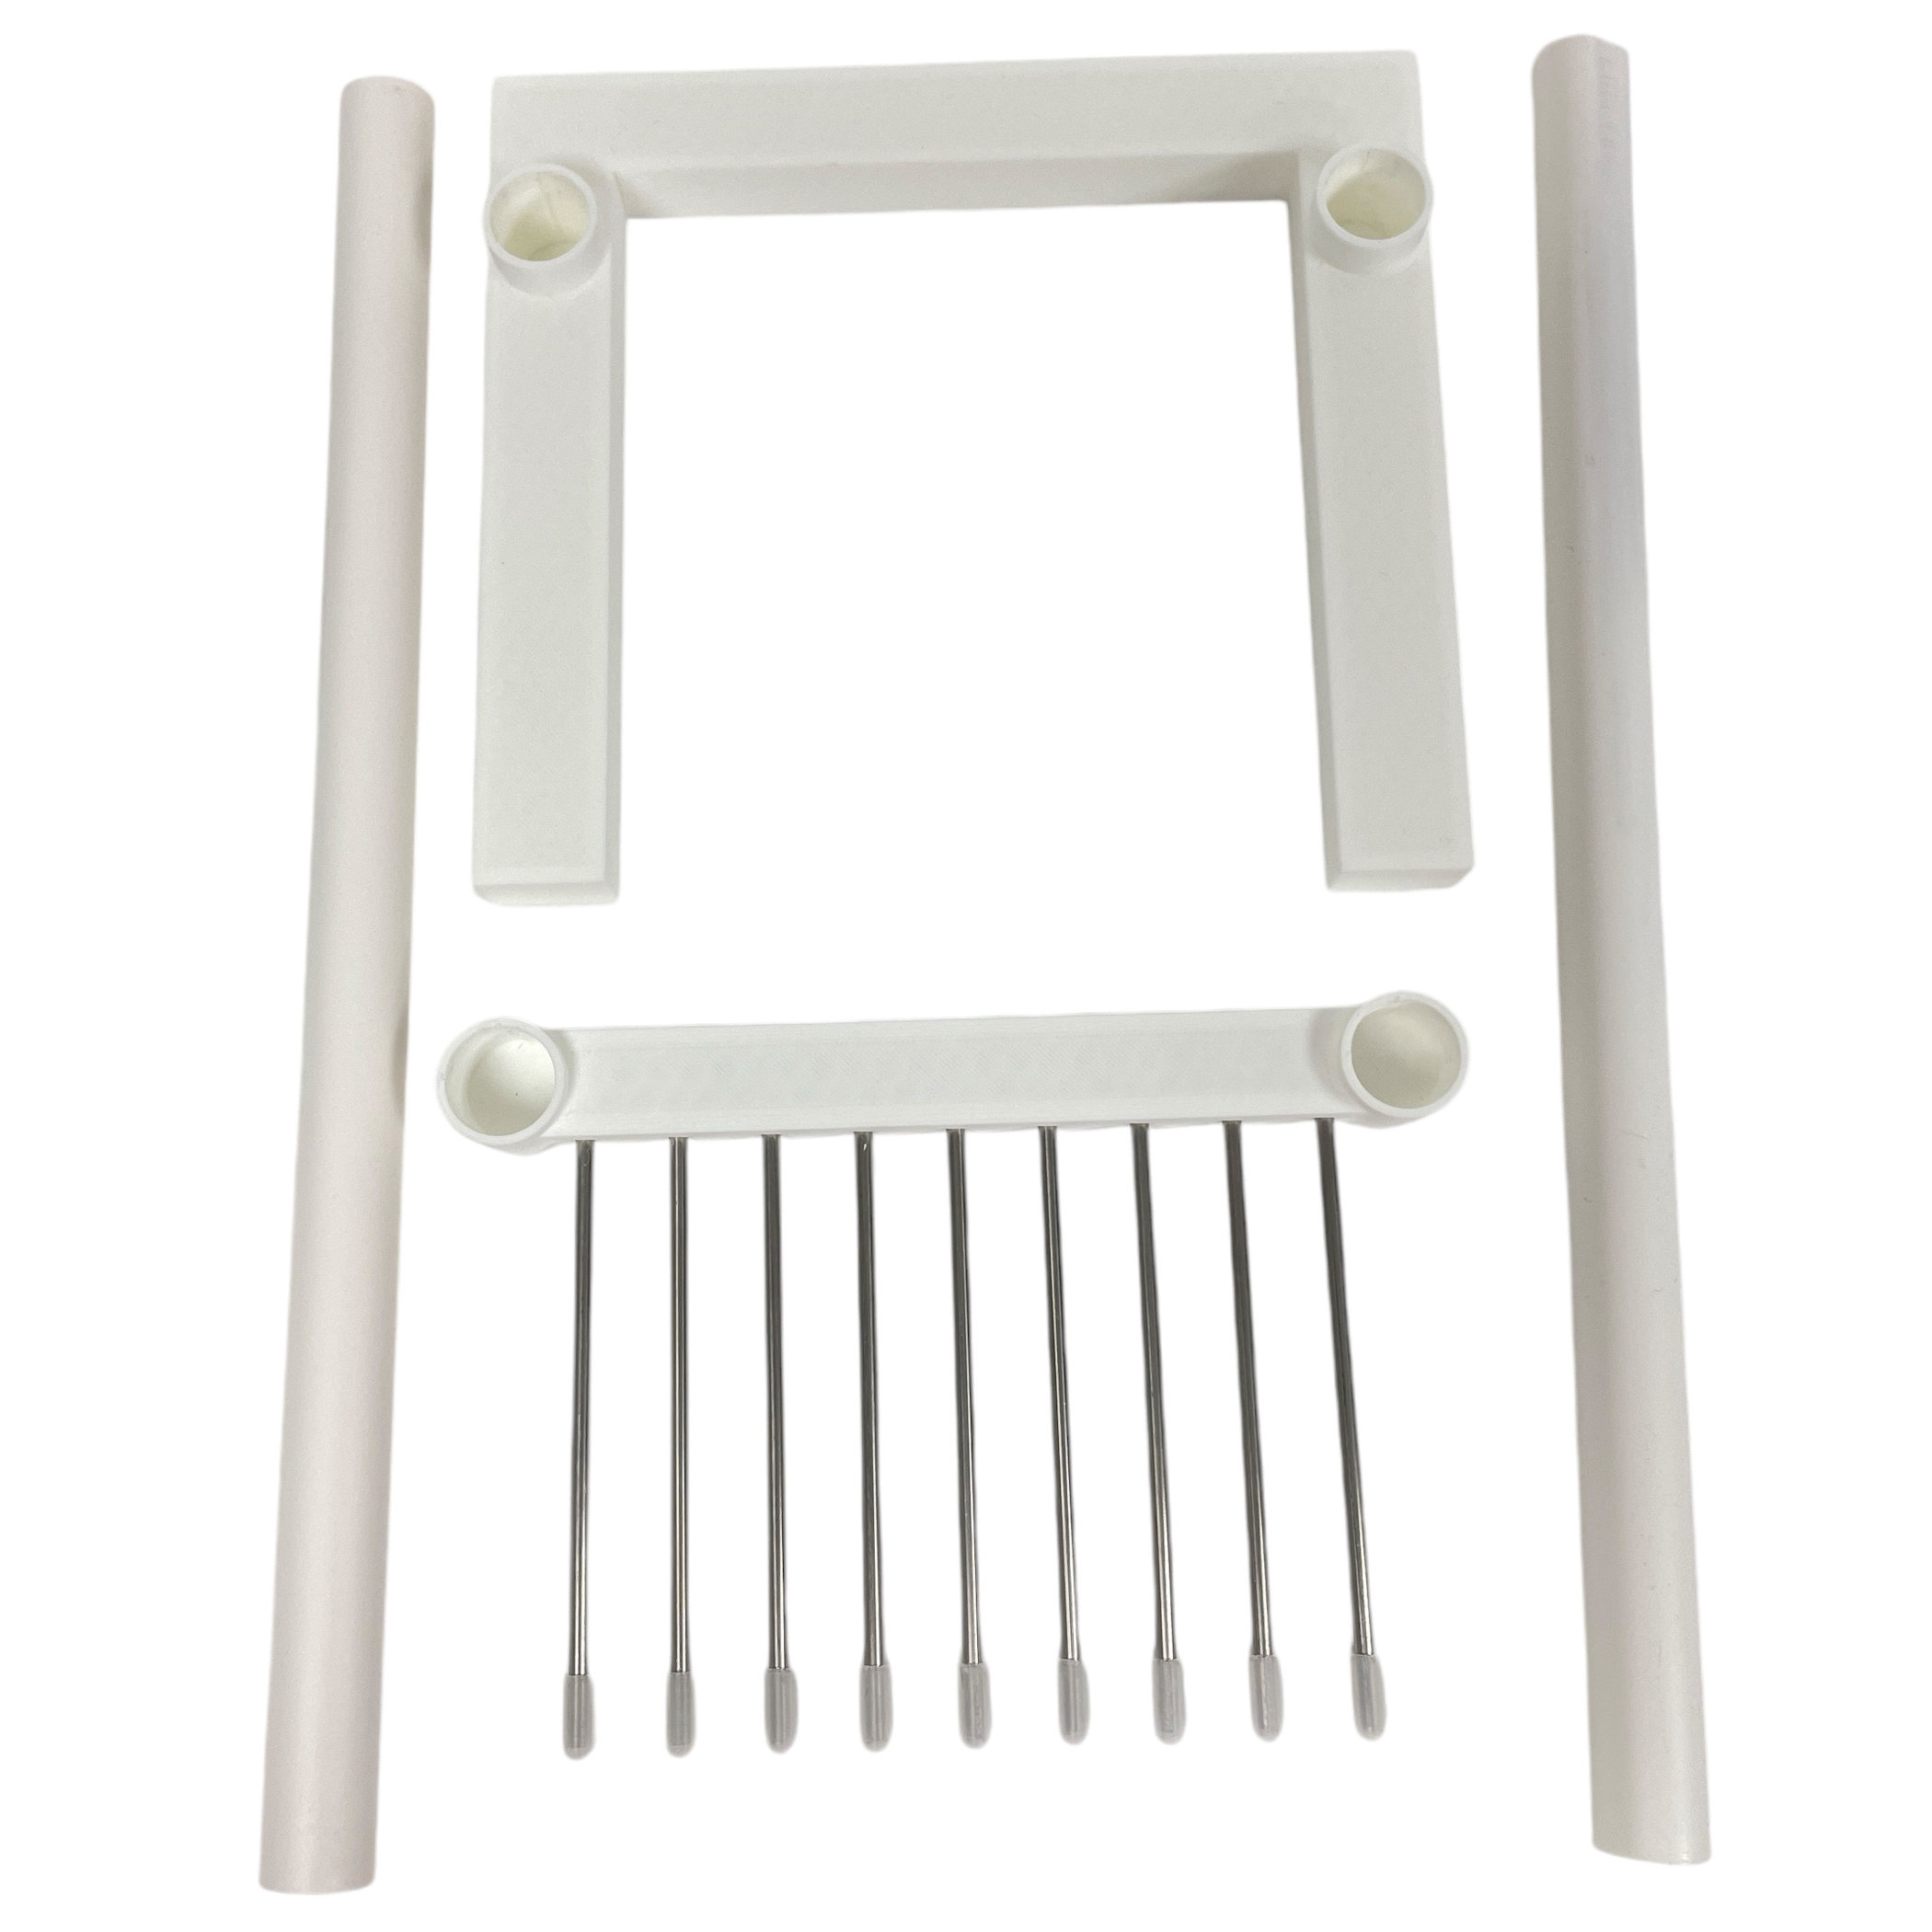
- 2 pcs PVC pipe 1/2" diam x 15" long.
- 1 Base Piece
- 1 Top Piece with pins already installed.
Parts Included
- Acetone based nail polish remover
- Chain Nose Jewelry Pliers
- 50lb test monofiliment fishing line
- 2mm Crimp beads
Tools Needed
Instructions
Step 1: Clean the PVC pipes if needed. If you want, clean them with paper towel moistened with the nail polish remover. I did clean them but even with pure acetone, I was unable to completely remove all of the ink from them.
Step 2: The drying rack is partially assembled to save you time and to make it easier to finish the assembly. Lay the base on your table.
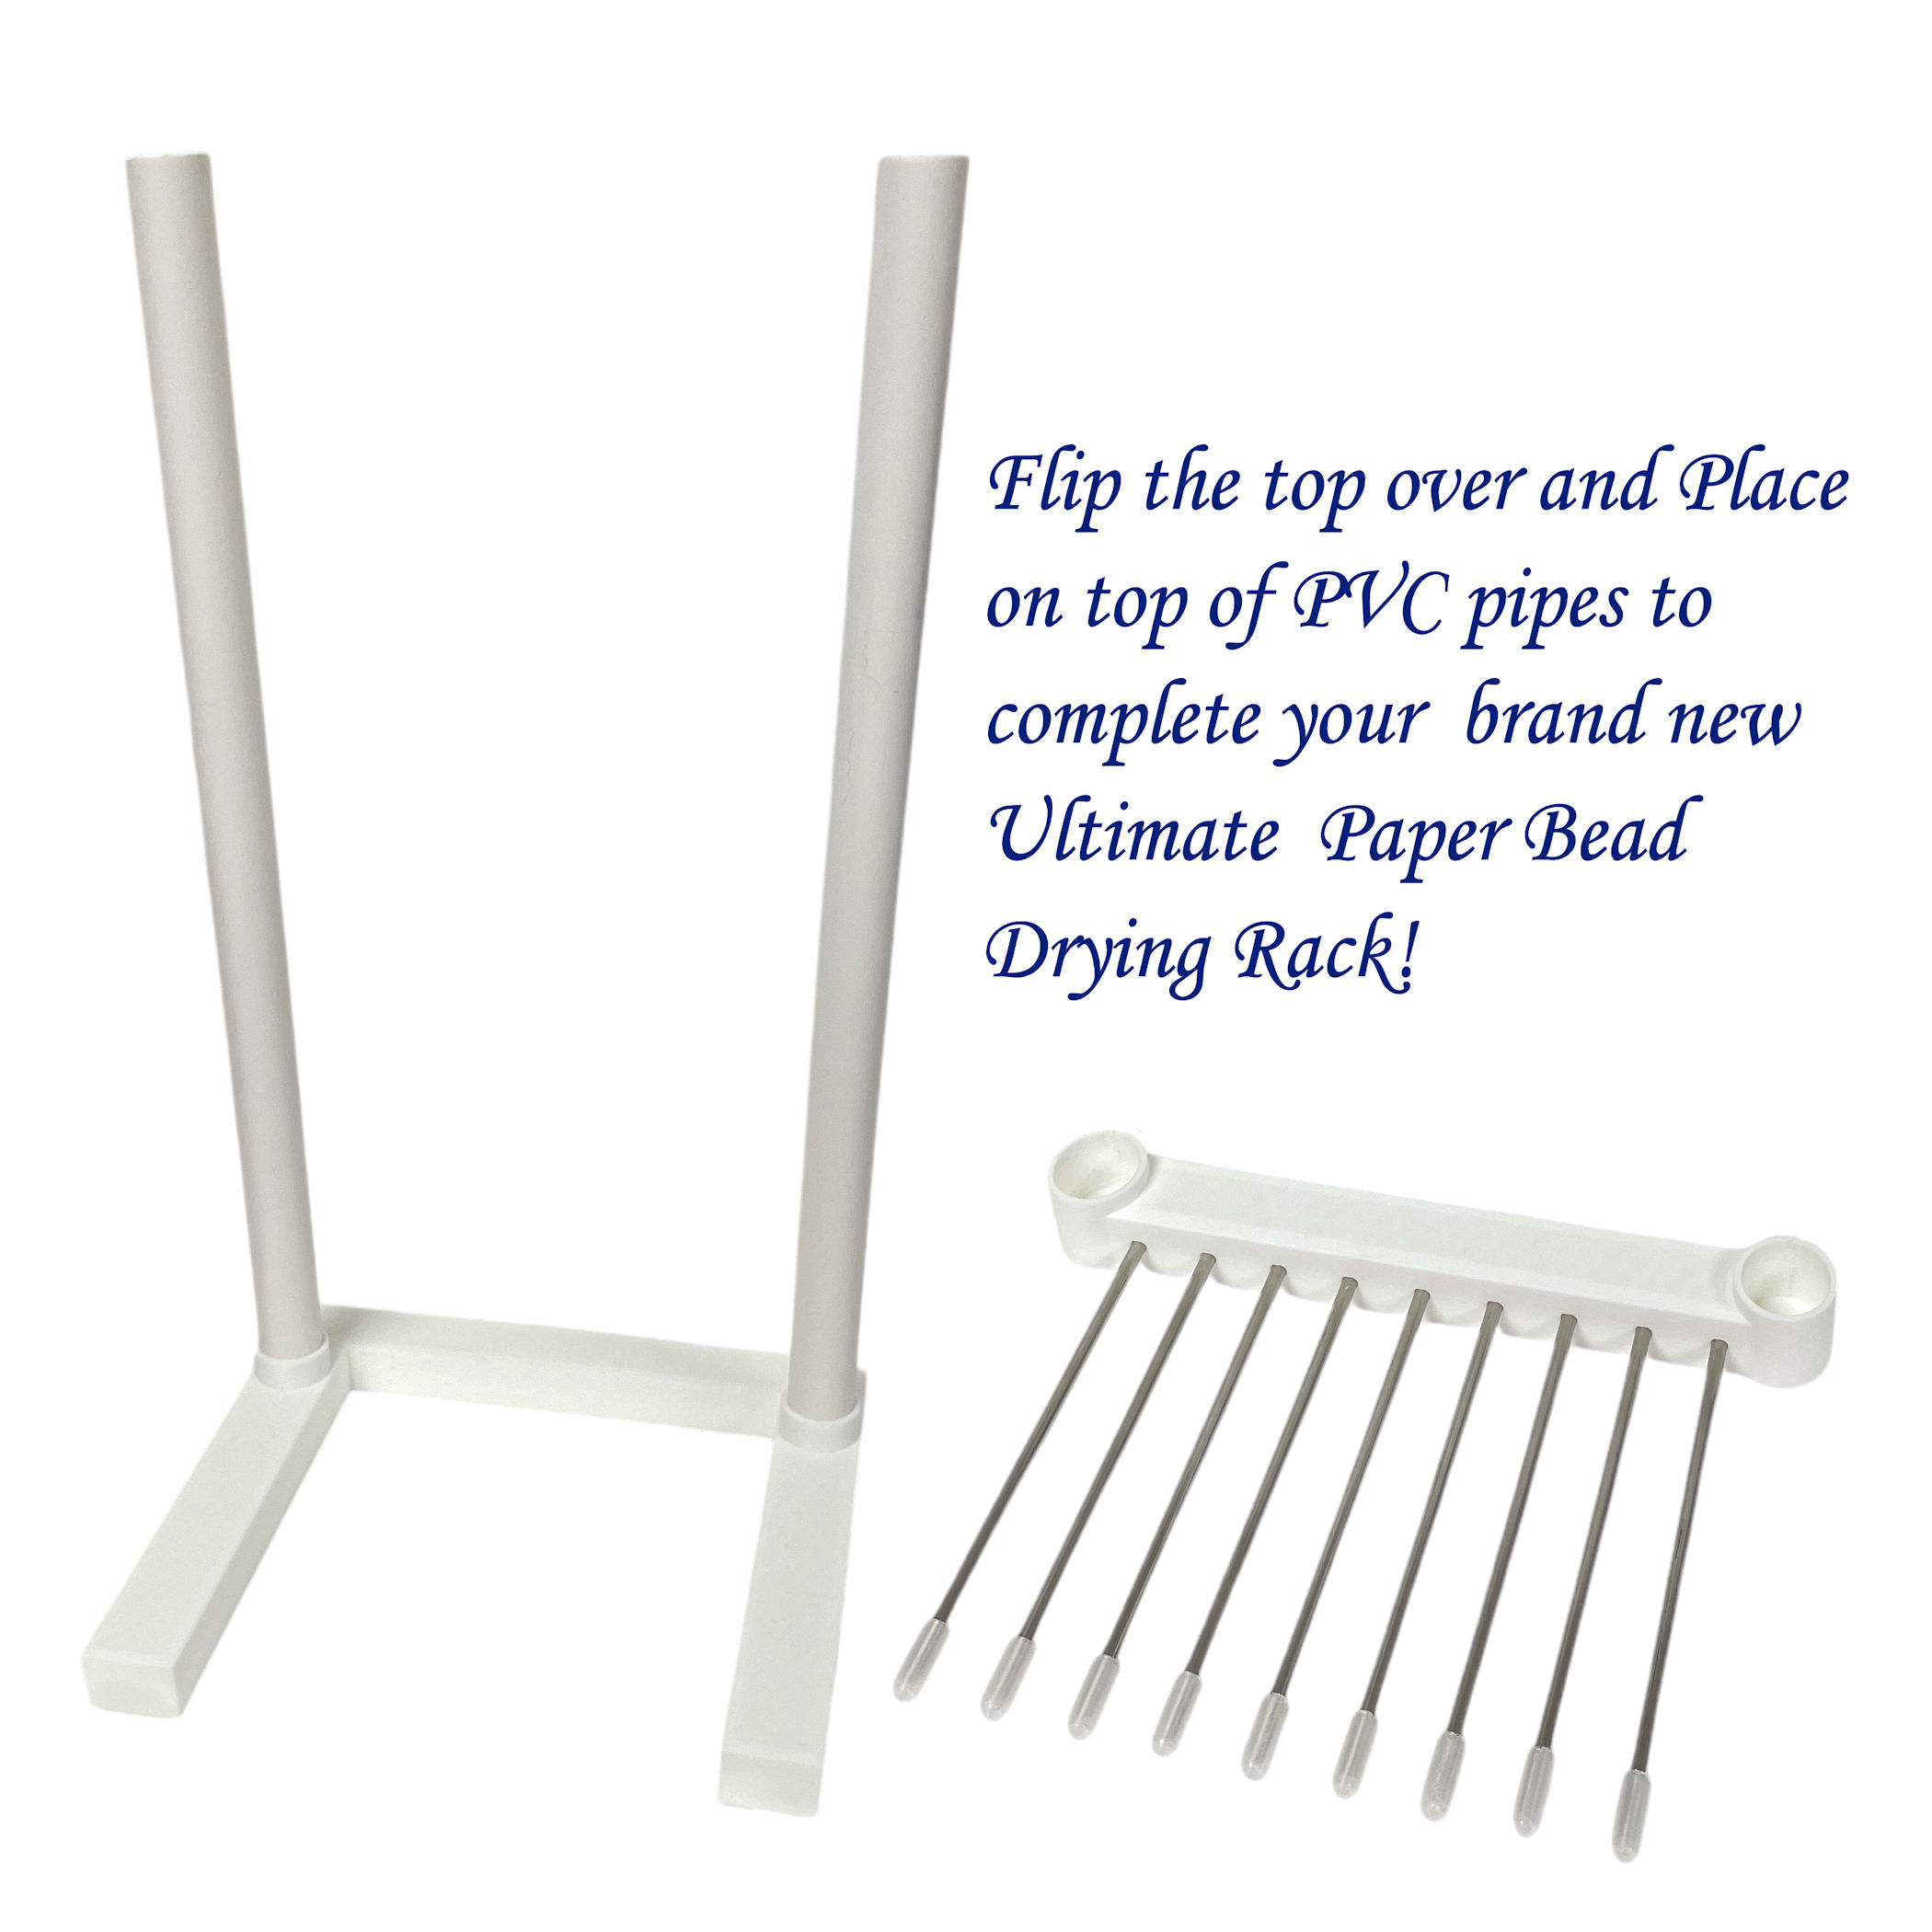
Step 3: Insert the two 15" long PVC pipes into the base.
This photo shows the base partially assembled, what is left is to Add the top to the PVC pipes.

Notice the ends of each pin. I 3D printed these caps and put them into place to help in preventing your strands of beads from sliding off on their own. They are tight fit and not glued on. I needed to use a hammer to tap them into place so they should never fall off.
Step 5: Finally, place the pre-assembled top of your bead drying rack into the top ends of the upright pipes.

How to Use Your Drying Rack!
- Cut your 50lb test fishing line to 15" pieces
- Place a crimp bead at one end of the fishing line, make a loop and run the end back through the crimp tube and using your chain nose pliers flatten the crimp bead to lock the loop in place. This is stopper and the hanger. Put all of your beads on the filament starting and ending with a waste bead. Put a crimp bead at the other end, make a loop and run the end back through the crimp tube and flatten as you did before. The waste beads will take on the extra glaze that drips from the last good beads at each end.
- Holding both ends, dip your beads into your thin varnish or glaze.
- Shake the excess glaze off of the beads. I use a large empty box to shake more of the glaze off before hanging.
- Hang one end on the drying rack with the loop made at the end of your strand. If the filament is new and curled, you can add a 1 oz weight at the bottom of the strand to weight it down to straighten it. I do have instructions on how to make them with steel fishing sinkers, beads and paper clips.
- When you dip them a second time, invert your strand of beads and hang with the other loop, for even coverage. (Tip:When getting ready to dip them the 2nd, 3rd, 4th and 5th times, remove all of the strands from the rack at the same time. Before hanging them back up, inverted, take the time to break apart the beads that are stuck together and move them down to the crimp bead that is now at the bottom.)
- If you do multiple dips, aways do an even number of dips, inverting your strand each time for even coverage.
- What I use is 2-4 coats of PC Petrifier Wood hardener and 2 coats of Vibrance.
- You can reuse the fishing line if you want. To do this, remove the beads, pull a waste bead off the end, making the crimp tube come with it. If it is too hard to pull the waste bead and crimp tube off at the same time, you can cut the filament between the crimp tube and waste bead. Just cut one end so you can use it over and over again until it is too short to use.
This page doesn't print well in this browser, instead, download and print the PDF file.
Design first written on December 31, 2023 and updated on October 10, 2024. Copyright ©2023-2024 By Julie A. Bolduc of Just Plain Fun
Sheetworks Studio Version 2.5 — Free Download! - Two New Categories Added, Graph Paper and Quilt Blocks
All items in our online shop ship free within the US only. I currently offer U.S. shipping only and it is from rural Maine. Delivery can vary from 2–14 days depending on your distance from Maine. Expedited shipping is not available.
Please note: I am now selling all of my paper bead making tools and other items from this web site using Paypal payments.
I have removed all of my paper bead making tools from Amazon. My Kindle crochet pattern books and paper template paperback books continue to be available on Amazon, as they are printed and fulfilled directly by Amazon. A limited number of paper bead making tools remain available on Etsy but I am not linking to those tools from this site.
Random Quick Tip!
Stringing Beads Before StitchingIf you crochet with beads, put the beads in a shallow dish to make it easier to scoop them up one or two at a time. When working with beads, most of the time you will need to put the beads onto the thread or yarn first before starting with crocheting.