
Checker Stitch
This stitch is called the checker stitch. It can be used along with other stitches in a pattern whether working in rows or in rounds. It can also be used as a very attractive eding on a project. Examples of each application of use are in the above patterns for the mittens and Bath tissue cover and wreath ornament.
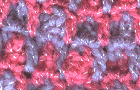
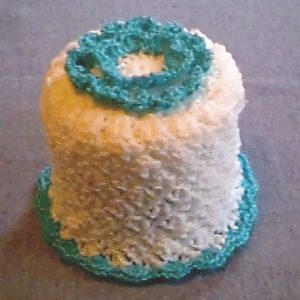
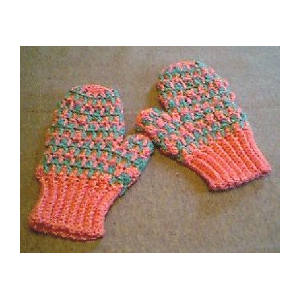
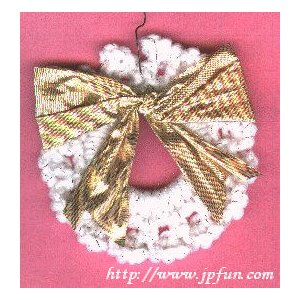
Checker Stitch (ckr)
The basic instructions are:
Sc in stitch indicated, while keeping loop on hook, insert hook in same st, yo, and ch3. Yo, pull through both lps on hook, then while keeping the first lp on hook. Pull up a lp in each
of the 3 chs, then yo and pull yarn through all 4 lps on hook. Ch1.
As an edging.
Start with an even number of stitches or spaces around project such as an
afghan, handkerchief or tablecloth etc...
Ckr in first st. Ch2. *Sk next st. Ckr in next st. Ch2. Rep from * as needed for project. Join w/slst to first sc of first ckr.
All items in our online shop ship free within the US only. I currently offer U.S. shipping only and it is from rural Maine. Delivery can vary from 2–14 days depending on your distance from Maine. Expedited shipping is not available.
Please note: I am now selling all of my paper bead making tools and other items from this web site using Paypal payments.
I have removed all of my paper bead making tools from Amazon. My Kindle crochet pattern books and paper template paperback books continue to be available on Amazon, as they are printed and fulfilled directly by Amazon. If you would like to shop my Etsy Store, follow the link in the header above.
Random Quick Tip!
Sewing Thread SaversThese are also called, "beginners and enders", chargers, and perhaps a few other names. I love this tip and use it every day!. What are they? Little pieces of fabric that you begin and end stitching with at the beginning and end of your seams. I call them thread savers because they save your thread instead of pulling out 6 or more inches of thread, then cutting it, after you sew a seam, the little piece of fabric stays right under your presser foot. My tip is, I use the selveges from my fabric to use as thread savers. I make sure I have at least a 1 by 2 inch piece to fold in half to put under my presser foot. That is the only size you actually need. When the folded selvege piece is full of thread, just toss it in the trash. Actually, I toss it into my fabric recycle bag I save for use in stuffing things I make.