
Open Shells Table Runner
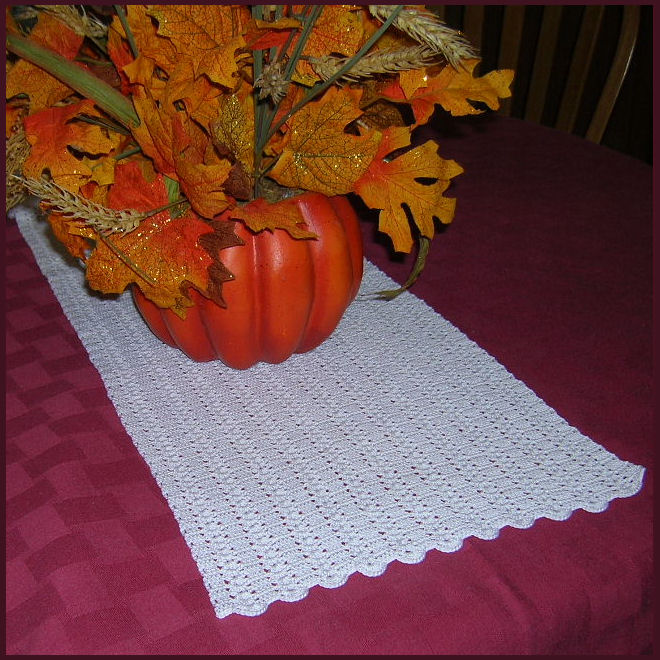 Designed By Julie A. Bolduc
This table runner is 6 feet long and starts at the center. Work one end until you reach half the overall length you want it to be, then turn it around and start from the bottom and work the other end to match. It is easy to make but a large project that you want to plan ahead with. I worked 5 - 10 rows per day for about 6 weeks.
Materials Needed
12oz Size 10 Aunt Lydia's Classic Crochet Thread in white.
Size 8 Steel crochet hook
Tapestry needle for weaving in ends
Yarn Thickness: 10thread
Gauge: 4rows=1" 10dc=1"
Finished Size: 10" w x 72" long
Skill Level: Intermediate to Advanced
Special Stitch
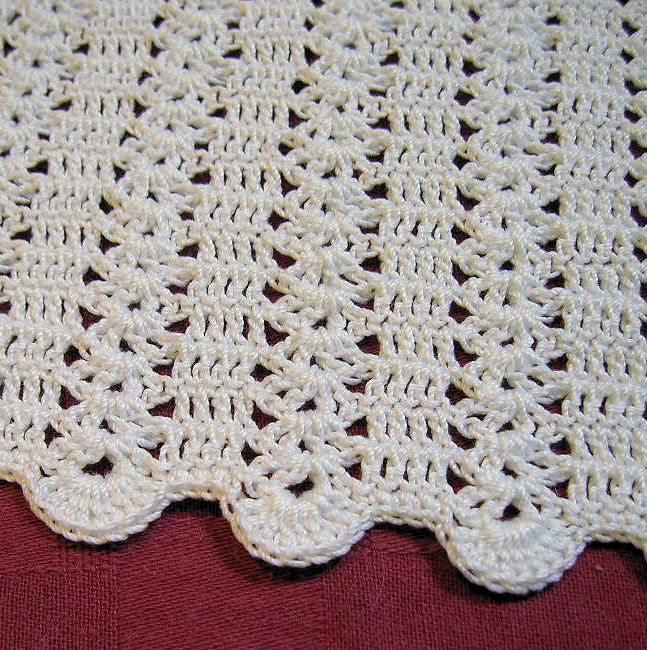
Open Shell: Dc, ch1, dc, ch1, dc, ch1,dc.
Instructions
ROW 1: Ch106. Dc in 4th ch from hook and in each of the next 3 chs. *Sk 2 chs. Open Shell in next ch. Sk 2 chs. Dc in each of the next 4 chs. Rep from * across.
You should end with a dc in each of the last 4 chs. Ch3, turn.
ROW 2-159 or until it is half as long as you want it to be: Sk very first dc. Dc in each of the next 3 dc. *Open shell in the center ch1 sp of the next open shell. Sk next ch1 sp, and the next dc. Dc in each of the next 4 dc. Rep from * across. Ch3, turn.
ROW 160 or last one: Sk very first dc. Sc in each of the next 3 dc. *Work 9dc in center ch 1 sp of next open shell. Sk next ch1 sp and next dc. Sc in each of the next 4 dc. Rep from * across. Fasten off, weave ends into back side of work. Turn work around so the bottom is up and the right side is facing you.
ROW 1: Join thread to first ch of ROW 1. Ch3. Dc in each of the next 3 sts. *Open Shell in next base ch of next open shell of row 1. Sk 2 chs. Dc in each of the next 4 ch bases of next 4 dc. Rep from * across. Ch3, turn.
ROW 2-160: Repeat as for the first side.
NOTE: Remember, you will need to dc in top of ch3 on every other row before turning to make sure you have 4 dc at each end.
Design written on Thursday, December 09, 2010. Copyright ©2010 By Julie A. Bolduc p111043
All items in our online shop ship free within the US only. I currently offer U.S. shipping only and it is from rural Maine. Delivery can vary from 2–14 days depending on your distance from Maine. Expedited shipping is not available.
Please note: I am now selling all of my paper bead making tools and other items from this web site using Paypal payments.
I have removed all of my paper bead making tools from Amazon. My Kindle crochet pattern books and paper template paperback books continue to be available on Amazon, as they are printed and fulfilled directly by Amazon. If you would like to shop my Etsy Store, follow the link in the header above.
Random Quick Tip!
CoastersIf you are crocheting a coaster that has two layers and is made out of thread, you might want to put a plastic liner between the layers to make the coaster stable. Just cut a plastic lid into the shape you need, tuck it inside your crocheted coaster before you close it up all the way. You can also use those foam trays for this purpose. But the plastic ones are washable forever.